Author: Rose Melton

  • Dairy Queen Vanilla Ice Cream Recipe

    Dairy Queen Vanilla Ice Cream Recipe

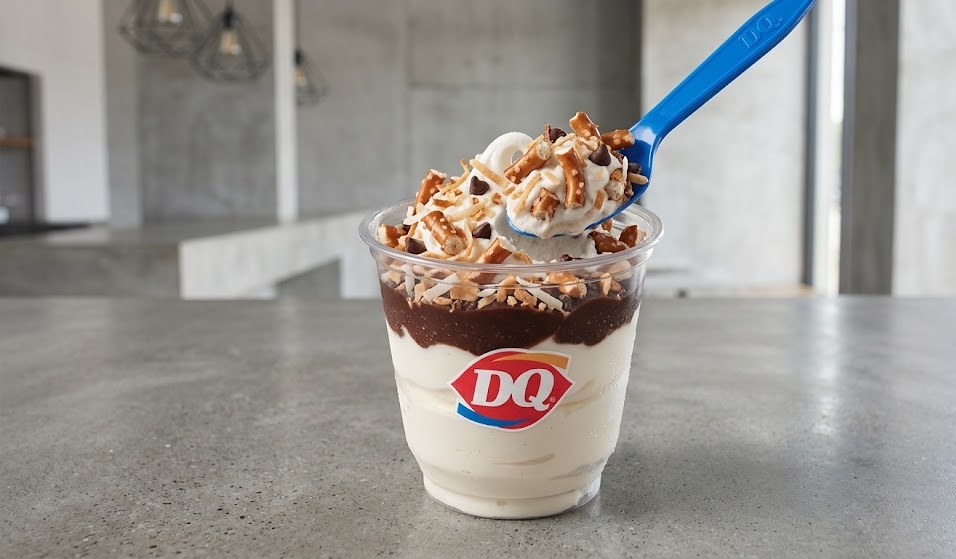
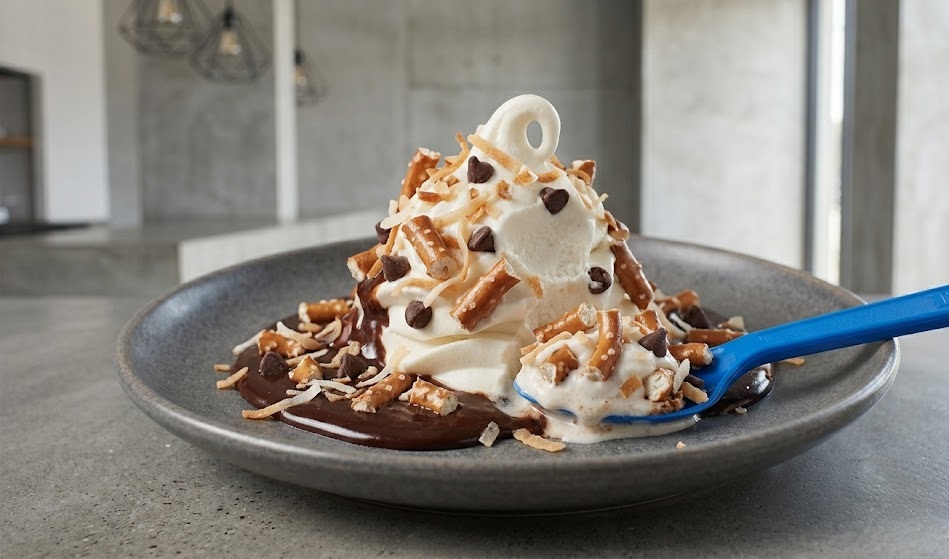
    This Dairy Queen Vanilla Ice Cream Recipe gives you a smooth, creamy frozen dessert with the classic soft vanilla flavour many people love. It has a light texture that is rich without feeling heavy, making it ideal for cones, bowls, or homemade sundaes. The method is simple and beginner-friendly, with no complicated equipment needed beyond an ice cream maker or freezer-safe container. Total time is around 6 hours including chilling and freezing.

    Ingredients

    For the Ice Cream Base

    • 500ml whole milk
    • 300ml double cream
    • 150g caster sugar
    • 4 egg yolks
    • 1 tbsp vanilla extract
    • 1 tbsp skimmed milk powder
    • Pinch of salt

    How to Make Dairy Queen Vanilla Ice Cream Recipe

    • Prepare the freezer bowl: If using an ice cream maker, freeze the bowl according to the manufacturer’s instructions so it is ready when needed.
    • Warm the dairy: Place the milk, cream and milk powder in a saucepan. Heat gently until steaming, stirring now and then. Do not let it boil.
    • Mix the custard: In a bowl, whisk the egg yolks and sugar until smooth and lighter in colour.
    • Combine carefully: Slowly pour the warm milk mixture into the egg mixture while whisking constantly.
    • Cook gently: Return everything to the saucepan. Stir over low heat until the custard lightly coats the back of a spoon.
    • Cool the mixture: Remove from the heat, stir in vanilla and salt, then chill in the refrigerator for at least 3 hours.
    • Churn: Pour into your ice cream maker and churn until thick, smooth and soft.
    • Freeze and serve: Spoon into a freezer-safe tub and freeze for 2 to 3 hours for a firmer texture. Scoop and enjoy.
    How to Make Dairy Queen Vanilla Ice Cream Recipe

    Tips

    How do I make it extra creamy?

    Use full-fat milk and proper double cream. The fat content creates a smoother texture.

    Why is my ice cream icy?

    The base may not have chilled fully before freezing. Chill it thoroughly and store in an airtight container.

    Can I make it softer like soft serve?

    Serve straight after churning for a softer Dairy Queen style texture.

    How do I boost the vanilla flavour?

    Add vanilla bean paste or scrape in seeds from one vanilla pod.

    Serving Suggestions

    • Serve in waffle cones
    • Top with chocolate sauce
    • Add fresh berries
    • Blend into a milkshake
    • Use for banana splits

    Storage

    Room Temperature

    Do not leave out for more than 10 minutes. Return to the freezer promptly.

    Refrigerator

    Ice cream should not be stored in the fridge as it will melt. Keep frozen instead.

    Freezing

    Store in an airtight container for up to 1 month for best flavour and texture. Press parchment onto the surface to reduce ice crystals.

    Nutrition

    • Calories: 280 kcal
    • Carbohydrates: 22g
    • Protein: 4g
    • Fat: 20g
    • Saturated Fat: 12g
    • Sodium: 65mg

    Nutrition values are estimates and may vary depending on ingredients used.

    FAQs

    Can I make this without an ice cream maker?

    Yes. Freeze the mixture in a shallow container and stir every 30 minutes for several hours until smooth and frozen.

    Why does Dairy Queen style ice cream feel lighter?

    It is often served softer with more air incorporated, giving a lighter texture.

    Can I use vanilla essence instead of extract?

    Yes, though vanilla extract gives a fuller and more natural flavour.

    How long does homemade vanilla ice cream last?

    For best quality, enjoy within 1 month when stored properly in the freezer.
    Dairy Queen Vanilla Ice Cream Recipe

    Recipe by Milli RoseCourse: DessertCuisine: AmericanDifficulty: Easy
    Servings

    8

    scoops
    Prep time

    20

    minutes
    Cooking time

    10

    minutes
    Total time

    360

    minutes
    Calories

    280

    kcal

    30

    minutes

    Smooth, creamy homemade vanilla ice cream inspired by the classic Dairy Queen style. Light, rich and perfect for cones, sundaes or enjoying on its own.

    Ingredients

    • 500ml whole milk

    • 300ml double cream

    • 150g caster sugar

    • 4 egg yolks

    • 1 tbsp vanilla extract

    • Pinch of salt

    • 1 tbsp skimmed milk powder

    Directions

    • Heat the milk, cream and milk powder in a saucepan until steaming but not boiling.
    • Whisk egg yolks and sugar together in a bowl until pale.
    • Slowly pour the warm milk mixture into the eggs while whisking constantly.
    • Return mixture to the pan and cook gently until slightly thickened.
    • Stir in vanilla and salt, then cool fully in the fridge.
    • Churn in an ice cream maker until thick and soft.
    • Transfer to a container and freeze until scoopable.
    • Serve in bowls, cones or with toppings.

    Notes

    • Do not boil the custard or it may curdle.
    • Chill the base well before churning for the smoothest texture.
    • Leave at room temperature for 5 minutes before scooping.
  • Happy Lemon Bubble Waffle Recipe

    Happy Lemon Bubble Waffle Recipe

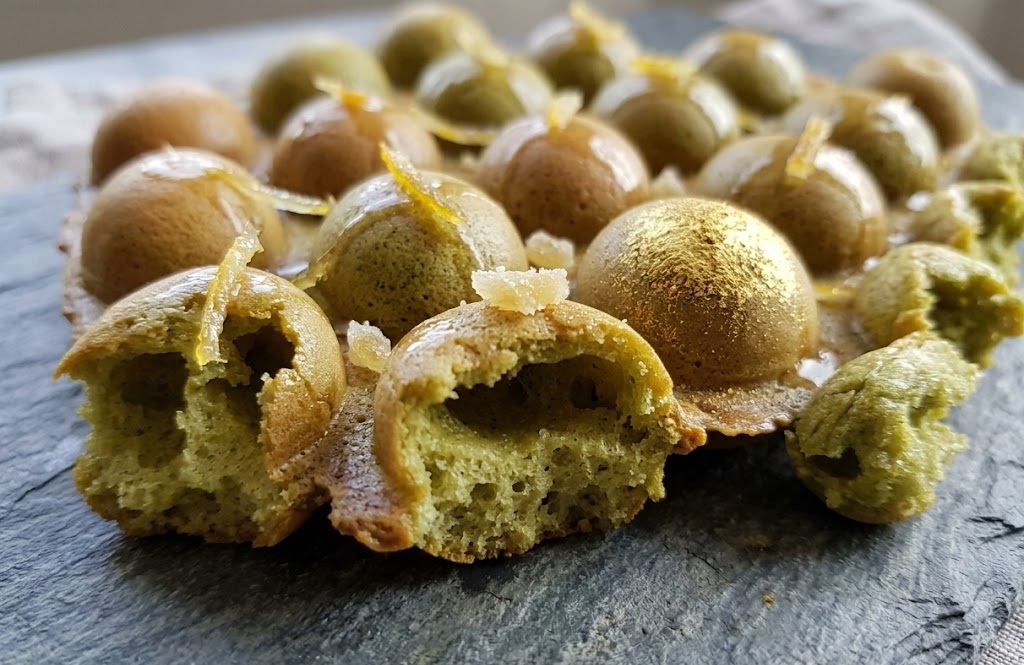
    Happy Lemon Bubble Waffles are crisp on the outside, soft and airy inside, with their signature honeycomb shape that makes them perfect for folding and filling. They have a light vanilla sweetness and a delicate eggy aroma, similar to a cross between a waffle and a sponge cake. This recipe is simple enough for beginners and gives excellent results with a bubble waffle maker. Allow around 30 minutes in total, including mixing and cooking.

    Ingredients

    For the Bubble Waffle Batter

    • 140g plain flour
    • 20g cornflour
    • 1 tsp baking powder
    • 2 tbsp caster sugar
    • 2 large eggs
    • 120ml whole milk
    • 60ml water
    • 40g unsalted butter, melted
    • 1 tsp vanilla extract
    • Pinch of salt

    For Serving

    • Whipped cream
    • Fresh strawberries
    • Banana slices
    • Chocolate sauce
    • Ice cream
    • Icing sugar

    How to Make Happy Lemon Bubble Waffle Recipe

    • Prepare the waffle maker: Preheat your bubble waffle maker according to the manufacturer’s instructions. Lightly grease both sides with a little oil or melted butter.
    • Mix the dry ingredients: In a large bowl, whisk together the plain flour, cornflour, baking powder, caster sugar and salt until evenly combined.
    • Whisk the wet ingredients: In a separate bowl, beat the eggs, then whisk in the milk, water, melted butter and vanilla extract until smooth.
    • Make the batter: Pour the wet mixture into the dry ingredients and whisk until smooth with no visible lumps. Let the batter rest for 10 minutes for a lighter texture.
    • Cook the waffle: Pour enough batter into the hot bubble waffle maker to cover the moulds. Close the lid and cook for 2 to 3 minutes, then flip if required and cook for another 2 to 3 minutes until golden brown.
    • Cool slightly: Remove carefully and place on a wire rack for 1 minute to keep the outside crisp.
    • Shape and serve: Fold the warm waffle into a cone shape and fill with whipped cream, fruit or ice cream. Serve straight away.
    How to Make Happy Lemon Bubble Waffle Recipe

    Tips

    Why is my bubble waffle soft instead of crisp?

    Cook it a little longer and allow it to rest on a wire rack for a minute after cooking. Steam trapped underneath can soften the crust.

    How do I stop the batter sticking?

    Always preheat the waffle maker fully and grease lightly before each batch.

    Can I make the bubbles fuller?

    Fill the moulds generously with batter so each pocket expands properly during cooking.

    Why does my waffle tear when removed?

    It usually needs another minute of cooking. A properly cooked waffle releases more easily.

    Serving Suggestions

    • Fill with vanilla ice cream and strawberries.
    • Drizzle with chocolate or caramel sauce.
    • Serve with whipped cream and banana slices.
    • Dust with icing sugar for a simple finish.
    • Add fresh berries and lemon curd.

    Storage

    Room Temperature

    Best eaten fresh, but can be kept for up to 6 hours in an airtight container once cooled.

    Refrigerator

    Store for up to 2 days. Reheat in a toaster or hot oven to restore crispness.

    Freezing

    Freeze cooked waffles for up to 2 months. Separate with baking paper and reheat from frozen.

    Nutrition

    • Calories: 285 kcal
    • Carbohydrates: 32g
    • Protein: 7g
    • Fat: 14g
    • Saturated Fat: 8g
    • Sodium: 180mg

    Nutrition values are approximate and will vary depending on portion size and toppings used.

    FAQs

    Do I need a special bubble waffle maker?

    Yes, the signature bubble shape requires a bubble waffle maker or egg waffle iron. A standard waffle iron will not create the same texture.

    Can I make the batter ahead of time?

    Yes, the batter can be mixed a few hours ahead and kept chilled. Stir gently before using.

    Can I make these without eggs?

    You can use an egg replacer, though the texture will be slightly less airy.

    Why are Happy Lemon bubble waffles so popular?

    They are loved for their crisp shell, soft centre and fun shape that can be filled with ice cream, fruit and sauces.

    Happy Lemon Bubble Waffle Recipe

    Recipe by Milli RoseCourse: DessertCuisine: Asian InspiredDifficulty: Easy
    Servings

    4

    servings
    Prep time

    30

    minutes
    Cooking time

    40

    minutes
    Calories

    300

    kcal
    Total time

    1

    hour 

    10

    minutes

    Crisp golden bubble waffles with a soft airy centre, perfect for filling with cream, fruit or ice cream.

    Ingredients

    • 140g plain flour

    • 20g cornflour

    • 1 tsp baking powder

    • 2 tbsp caster sugar

    • 2 large eggs

    • 120ml whole milk

    • 60ml water

    • 40g unsalted butter, melted

    • 1 tsp vanilla extract

    • Pinch of salt

    Directions

    • Preheat and lightly grease the bubble waffle maker.
    • Whisk together flour, cornflour, baking powder, sugar and salt.
    • Beat eggs with milk, water, melted butter and vanilla.
    • Combine wet and dry mixtures to make a smooth batter.
    • Rest batter for 10 minutes.
    • Pour into waffle maker and cook until golden brown.
    • Remove carefully and cool briefly on a rack.
    • Fold into shape, fill and serve immediately.

    Notes

    • Resting the batter improves texture.
    • Cook until deeply golden for best crispness.
    • Serve straight away for the finest results.
  • Pepper Belly Pete Spicy Chilli

    Pepper Belly Pete Spicy Chilli

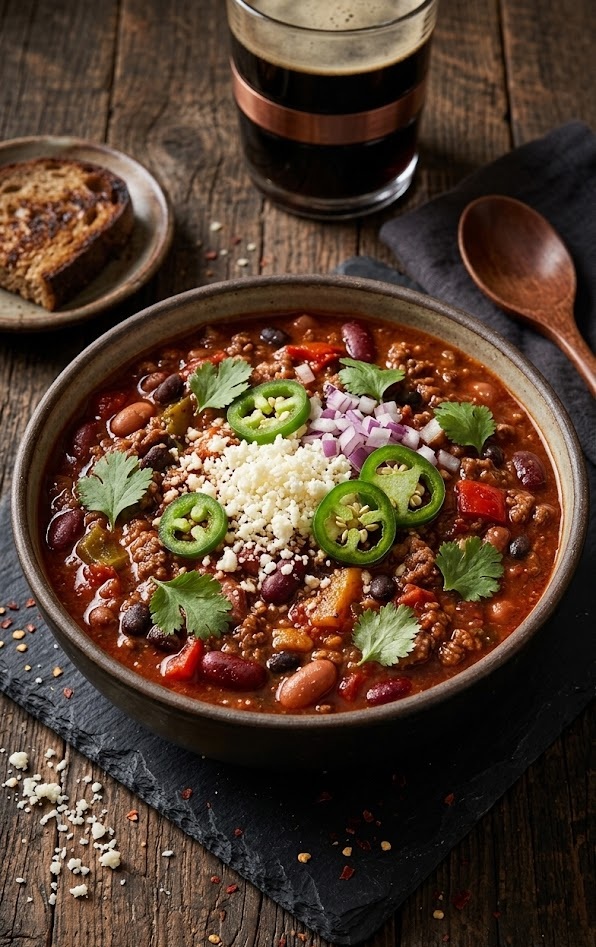
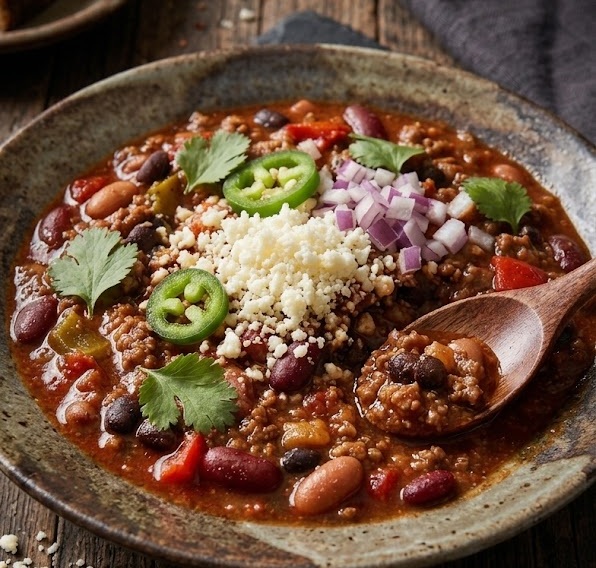
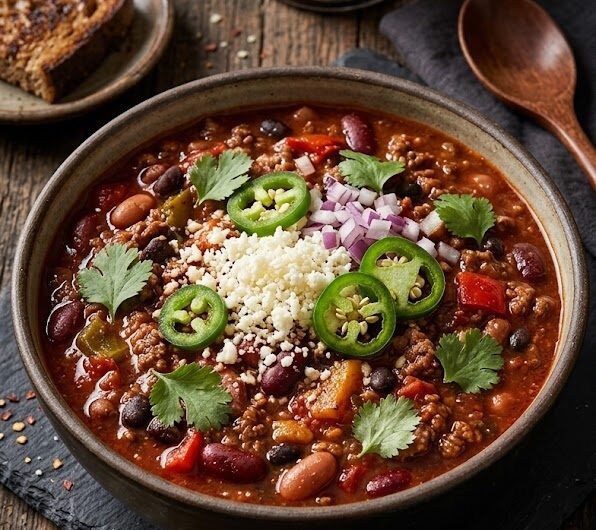
    This Pepper Belly Pete Chilli is bold, rich, and deeply satisfying with layers of smoky spice and tender meat. It has a thick, hearty texture with a warming kick that builds without overpowering. The recipe is simple enough for beginners yet delivers a slow-cooked flavour that tastes like it has been simmering all day. Total time is around 1 hour, making it perfect for a comforting weeknight meal.

    Ingredients

    For the chilli base

    • 2 tbsp olive oil
    • 1 large onion, finely chopped
    • 2 garlic cloves, crushed
    • 500g minced beef
    • 1 red bell pepper, diced
    • 1 green bell pepper, diced
    • 1 tsp smoked paprika
    • 1 tsp ground cumin
    • 1 tsp chilli powder
    • ½ tsp cayenne pepper
    • 2 tbsp tomato purée
    • 400g chopped tomatoes (1 tin)
    • 250ml beef stock
    • 1 tbsp Worcestershire sauce
    • 1 tsp sugar
    • Salt and black pepper to taste
    • 400g kidney beans, drained and rinsed

    For serving

    • Cooked rice or warm crusty bread
    • Sour cream
    • Fresh coriander, chopped
    • Grated cheddar cheese

    How to Make Pepper Belly Pete Chilli Recipe

    • Prepare the base: Heat the olive oil in a large pot over medium heat. Add the chopped onion and cook for 5 minutes until soft and translucent. Stir in the garlic and cook for another minute.
    • Cook the beef: Add the minced beef to the pot and cook until browned, breaking it up with a spoon as it cooks.
    • Add vegetables: Stir in the diced red and green peppers. Cook for 5 minutes until slightly softened.
    • Build the flavour: Add smoked paprika, cumin, chilli powder, and cayenne pepper. Stir well so the spices coat the meat evenly.
    • Combine liquids: Stir in tomato purée, chopped tomatoes, beef stock, Worcestershire sauce, and sugar. Mix well.
    • Simmer gently: Bring the mixture to a gentle simmer. Reduce heat and cook uncovered for 30 to 40 minutes, stirring occasionally until thickened.
    • Add beans: Stir in the kidney beans and cook for a further 10 minutes. Season with salt and black pepper to taste.
    • Rest and serve: Allow the chilli to sit for 5 minutes before serving. This helps the flavours settle and deepen.
    How to Make Pepper Belly Pete Chilli Recipe

    Tips

    How do I make the chilli thicker?

    Let it simmer uncovered so excess liquid evaporates. You can also mash a few beans into the sauce for a naturally thicker texture.

    Can I adjust the spice level?

    Yes, reduce or increase the cayenne pepper and chilli powder depending on your preference.

    Why does my chilli taste flat?

    Add a pinch of salt or a splash of Worcestershire sauce to enhance depth and balance the flavours.

    Can I make this ahead of time?

    Yes, chilli often tastes better the next day as the flavours continue to develop.

    Serving Suggestions

    • Serve over fluffy white rice
    • Pair with warm crusty bread
    • Top with sour cream and fresh coriander
    • Add grated cheddar for extra richness

    Storage

    Room temperature

    Allow to cool slightly, then do not leave out for more than 2 hours.

    Refrigerator

    Store in an airtight container for up to 3 days. Reheat thoroughly before serving.

    Freezing

    Freeze in portions for up to 3 months. Defrost overnight in the fridge and reheat on the hob.

    Nutrition

    • Calories: 420 kcal
    • Carbohydrates: 28g
    • Protein: 32g
    • Fat: 20g
    • Saturated Fat: 7g
    • Sodium: 680mg

    These values are approximate and may vary depending on ingredients used.

    FAQs

    Can I use a different type of meat?

    Yes, minced turkey or chicken works well for a lighter version, though the flavour will be slightly different.

    Can I make this chilli vegetarian?

    Replace the beef with extra beans or lentils and use vegetable stock instead of beef stock.

    How spicy is this recipe?

    It has a medium heat level, but you can easily adjust the spice by reducing or increasing the chilli and cayenne.

    Can I cook this in a slow cooker?

    Yes, brown the meat first, then transfer everything to a slow cooker and cook on low for 6 to 8 hours.

    Pepper Belly Pete Chilli Recipe

    Recipe by Milli RoseCourse: Main CourseCuisine: AmericanDifficulty: Easy
    Servings

    4

    servings
    Prep time

    30

    minutes
    Cooking time

    40

    minutes
    Calories

    300

    kcal
    Total time

    1

    hour 

    10

    minutes

    A rich and hearty chilli packed with bold spices, tender minced beef, and beans. Perfect for a comforting and flavourful meal.

    Ingredients

    • 2 tbsp olive oil

    • 1 large onion, finely chopped

    • 2 garlic cloves, crushed

    • 500g minced beef

    • 1 red bell pepper, diced

    • 1 green bell pepper, diced

    • 1 tsp smoked paprika

    • 1 tsp ground cumin

    • 1 tsp chilli powder

    • 1/2 tsp cayenne pepper

    • 2 tbsp tomato puree

    • 400g chopped tomatoes

    • 250ml beef stock

    • 1 tbsp Worcestershire sauce

    • 1 tsp sugar

    • Salt and black pepper

    • 400g kidney beans

    • Sour cream and coriander for serving

    Directions

    • Heat oil and cook onion until soft, then add garlic.
    • Add minced beef and cook until browned.
    • Stir in peppers and cook until slightly softened.
    • Add spices and stir well to coat.
    • Add tomato puree, tomatoes, stock, Worcestershire sauce and sugar.
    • Simmer for 30 to 40 minutes until thickened.
    • Add kidney beans and cook for 10 minutes.
    • Season to taste and rest briefly before serving.

    Notes

    • Adjust spice levels to suit your taste.
    • Chilli tastes even better the next day.
    • Freeze leftovers for quick meals.
  • Longhorn Steakhouse Spicy Cowboy Pork Chop

    Longhorn Steakhouse Spicy Cowboy Pork Chop

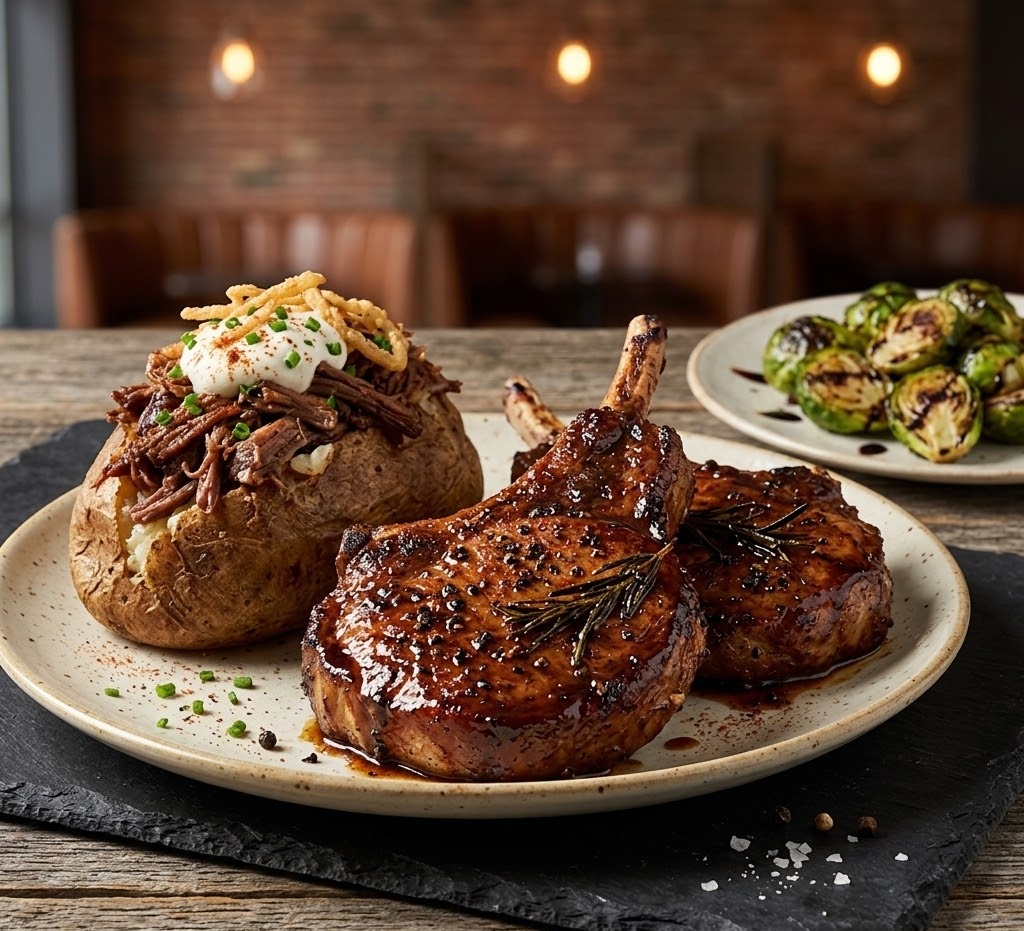
    This Longhorn Steakhouse Cowboy Pork Chop recipe brings the flavour of a steakhouse favourite straight to your kitchen. It features a thick, juicy bone-in pork chop seasoned with bold spices, seared until golden, then finished to tender perfection with buttery garlic notes. The outside develops a rich crust while the inside stays moist and succulent. It is a straightforward medium-level recipe with a total time of around 40 minutes.

    Ingredients

    For the Pork Chops

    • 2 thick bone-in pork chops, about 1 inch thick
    • 1 tablespoon olive oil
    • 1 tablespoon unsalted butter
    • 2 garlic cloves, crushed
    • 1 teaspoon chopped parsley

    For the Cowboy Seasoning

    • 1 teaspoon smoked paprika
    • 1 teaspoon garlic powder
    • 1 teaspoon onion powder
    • 1 teaspoon brown sugar
    • 1 teaspoon salt
    • 1/2 teaspoon black pepper

    How to Make Longhorn Steakhouse Cowboy Pork Chop Recipe

    • Prepare the oven: Preheat the oven to 200°C or 180°C fan. Place a shelf in the middle of the oven so the pork chops cook evenly.
    • Prepare the meat: Pat the pork chops dry with kitchen paper. Dry surfaces help create a better crust when searing.
    • Mix the seasoning: Combine smoked paprika, garlic powder, onion powder, brown sugar, salt and black pepper in a small bowl.
    • Season the chops: Rub the spice mix generously over both sides of each pork chop.
    • Sear the pork: Heat olive oil in a heavy oven-safe frying pan over medium-high heat. Sear each chop for about 3 minutes per side until richly browned.
    • Add flavour: Lower the heat slightly, add butter and crushed garlic, then spoon the melted butter over the chops for 1 minute.
    • Finish in the oven: Transfer the pan to the oven and cook for 10 to 15 minutes, depending on thickness, until cooked through.
    • Rest and serve: Remove from the oven and rest for 5 minutes before serving. Sprinkle with parsley.
    How to Make Longhorn Steakhouse Cowboy Pork Chop Recipe

    Tips

    How do I keep pork chops juicy?

    Use thick-cut chops and avoid overcooking. A short resting time after cooking helps the juices settle back into the meat.

    Why are my pork chops tough?

    Thin chops cook too quickly and dry out fast. Choose bone-in chops around 1 inch thick for the best texture.

    Can I make this without an oven-safe pan?

    Yes. Sear the pork in a frying pan, then transfer to a baking tray to finish in the oven.

    How do I know when they are done?

    The safest and most reliable method is using a thermometer. The centre should reach 63°C before resting.

    Serving Suggestions

    • Mashed potatoes with extra butter
    • Steamed green beans
    • Roasted sweet potatoes
    • Mac and cheese
    • Fresh garden salad

    Storage

    Room Temperature

    Do not leave cooked pork chops out for more than 2 hours.

    Refrigerator

    Store in an airtight container for up to 3 days. Reheat gently until piping hot.

    Freezing

    Wrap well and freeze for up to 2 months. Thaw overnight in the refrigerator before reheating.

    Nutrition

    • Calories: 520 kcal
    • Carbohydrates: 5g
    • Protein: 42g
    • Fat: 36g
    • Saturated Fat: 12g
    • Sodium: 760mg

    Nutrition values are estimates and may vary depending on ingredients used.

    FAQs

    Can I use boneless pork chops instead?

    Yes, but reduce the oven time slightly as boneless chops cook faster than bone-in cuts.

    What cut is a cowboy pork chop?

    It is a thick bone-in pork chop, often Frenched for presentation, similar to a rib chop.

    Can I grill these pork chops instead?

    Yes, sear over direct heat then move to lower heat until fully cooked.

    What sides go best with cowboy pork chops?

    Mashed potatoes, vegetables, mac and cheese, rice or salad all pair very well.

    Longhorn Steakhouse Cowboy Pork Chop Recipe

    Recipe by Milli RoseCourse: Main CourseCuisine: AmericanDifficulty: Easy
    Servings

    2

    servings
    Prep time

    10

    minutes
    Cooking time

    30

    minutes
    Total time

    40

    minutes
    Calories

    520

    kcal

    40

    minutes

    A thick-cut cowboy pork chop seasoned with smoky spices, pan seared and oven finished until juicy and tender. A hearty steakhouse-style main course packed with bold flavour.

    Ingredients

    • 2 thick bone-in pork chops, about 1 inch thick

    • 1 tbsp olive oil

    • 1 tbsp unsalted butter

    • 1 tsp smoked paprika

    • 1 tsp garlic powder

    • 1 tsp onion powder

    • 1 tsp brown sugar

    • 1/2 tsp black pepper

    • 1 tsp salt

    • 2 garlic cloves, crushed

    • 1 tsp chopped parsley

    Directions

    • Preheat oven to 200°C (180°C fan).
    • Pat the pork chops dry with kitchen paper.
    • Mix paprika, garlic powder, onion powder, brown sugar, pepper and salt in a bowl.
    • Rub the seasoning all over both pork chops.
    • Heat olive oil in an oven-safe frying pan over medium-high heat.
    • Sear pork chops for 3 minutes on each side until deeply golden.
    • Add butter and crushed garlic, spooning the melted butter over the chops.
    • Transfer pan to oven and cook for 10 to 15 minutes until internal temperature reaches 63°C.
    • Rest for 5 minutes, sprinkle with parsley and serve hot.

    Notes

    • Use thick pork chops for the juiciest result.
    • Allow the meat to rest before serving.
    • Internal temperature should reach 63°C before resting.
  • First Watch Purple Haze Recipe

    First Watch Purple Haze Recipe

    First Watch Purple Haze is a bright, fruity breakfast-style drink made with tart berries, smooth tea, and a refreshing citrus finish. It has a lightly sweet flavour, a vivid purple colour, and a cool, crisp texture that makes it perfect for brunch or warm afternoons. This homemade version is simple to prepare and needs no special equipment. From start to finish, it takes around 10 minutes.

    Ingredients

    For the Drink

    • 240ml strong brewed black tea, chilled
    • 120ml grape juice
    • 60ml cranberry juice
    • 2 tablespoons blueberry syrup or blueberry puree
    • 1 tablespoon honey or sugar syrup
    • 1 tablespoon fresh lemon juice
    • Ice cubes

    For Garnish

    • Fresh blueberries or blackberries
    • Lemon slices
    • Fresh mint leaves, optional

    How to Make First Watch Purple Haze Recipe

    • Prepare the tea: Brew black tea until strong and fragrant. Leave it to cool fully, then chill in the refrigerator for the freshest result.
    • Prepare the glasses: Fill two serving glasses with ice cubes so the drink stays cold and crisp.
    • Mix the drink: Add the chilled tea, grape juice, cranberry juice, blueberry syrup, honey, and lemon juice to a cocktail shaker or large jug.
    • Shake or stir: Shake well for 20 seconds, or stir briskly until everything is blended and icy cold.
    • Pour and serve: Divide the mixture between the prepared glasses.
    • Finish: Garnish with berries, lemon slices, and mint if using. Serve immediately.
    How to Make First Watch Purple Haze Recipe

    Tips

    How do I get the best purple colour?

    Use dark grape juice and blueberry syrup for the richest colour.

    Can I make it less sweet?

    Yes, reduce the honey or syrup and add a little extra lemon juice.

    What tea works best?

    Classic black tea gives the most balanced flavour, but berry tea also works well.

    Can I make it sparkling?

    Add a splash of sparkling water just before serving for a lighter finish.

    Serving Suggestions

    • Serve with pancakes or waffles
    • Pair with eggs and toast at brunch
    • Offer as a refreshing afternoon drink
    • Serve in tall glasses with extra fruit

    Storage

    Room Temperature

    Best served fresh. Do not leave out for more than 2 hours.

    Refrigerator

    Store the mixed drink without ice in a sealed jug for up to 2 days.

    Freezing

    Freeze in ice cube trays, then blend later for a frozen slush-style drink.

    Nutrition

    • Calories: 95 kcal
    • Carbohydrates: 24g
    • Protein: 0g
    • Fat: 0g
    • Saturated Fat: 0g
    • Sodium: 8mg

    Nutrition values are estimates and may vary depending on ingredients used.

    FAQs

    What is First Watch Purple Haze made of?

    It is usually a fruity blend of tea, grape juice, berry flavour, citrus, and sweetness served over ice.

    Can I make Purple Haze ahead of time?

    Yes, mix everything except the ice and store in the fridge for up to 2 days.

    Can I use herbal tea instead of black tea?

    Yes, berry or hibiscus tea works well and gives extra fruit flavour.

    Is Purple Haze caffeinated?

    If made with black tea it contains some caffeine. Use herbal tea for a caffeine-free version.

    First Watch Purple Haze Recipe

    Recipe by Milli RoseCourse: DrinksCuisine: AmericanDifficulty: Easy
    Servings

    2

    glasses
    Prep time

    10

    minutes
    Cooking timeminutes
    Total time

    10

    minutes
    Calories

    95

    kcal

    A refreshing berry tea drink inspired by the popular First Watch Purple Haze. Fruity, chilled, and perfect for brunch.

    Ingredients

    • 240ml strong brewed black tea, chilled

    • 120ml grape juice

    • 60ml cranberry juice

    • 2 tbsp blueberry syrup or puree

    • 1 tbsp honey or sugar syrup

    • 1 tbsp fresh lemon juice

    • Ice cubes

    • Fresh berries and lemon slices for garnish

    Directions

    • Brew the tea and allow it to cool completely.
    • Fill a shaker or jug with ice cubes.
    • Pour in chilled tea, grape juice, cranberry juice, blueberry syrup, honey, and lemon juice.
    • Shake or stir well until fully chilled.
    • Fill two glasses with fresh ice.
    • Strain or pour the drink into the glasses.
    • Garnish with berries and lemon slices before serving.

    Notes

    • Use chilled tea for the best flavour.
    • Adjust sweetness to taste.
    • Serve immediately for maximum freshness.
  • Dairy Queen Hot Fudge Recipe

    Dairy Queen Hot Fudge Recipe

    This Dairy Queen Hot Fudge Recipe recreates the rich, glossy chocolate topping that makes sundaes and frozen treats so irresistible. It is smooth, thick, and deeply chocolatey with a velvety texture that pours beautifully when warm. The recipe is simple enough for beginners and uses everyday ingredients. You can have it ready in around 20 minutes, making it perfect for quick desserts or special occasions.

    Ingredients

    For the Hot Fudge Sauce

    • 200g granulated sugar
    • 45g cocoa powder
    • 240ml evaporated milk
    • 120ml whole milk
    • 115g unsalted butter
    • 170g semi-sweet chocolate, chopped
    • 1 tsp vanilla extract
    • 1 pinch salt
    • 1 tbsp corn syrup (optional, for shine)

    For Serving

    • Vanilla ice cream
    • Whipped cream
    • Chopped nuts
    • Maraschino cherries

    How to Make Dairy Queen Hot Fudge Recipe

    • Prepare the pan: Place a medium heavy-bottomed saucepan over low heat. Using a heavy pan helps prevent scorching and gives a smoother finish.
    • Mix the dry ingredients: Add the sugar, cocoa powder, and salt to the pan. Stir well so the cocoa is evenly distributed with no lumps.
    • Add the liquids: Pour in the evaporated milk and whole milk gradually while whisking constantly. This helps create a smooth chocolate base.
    • Cook gently: Increase the heat to medium-low and stir continuously for 6 to 8 minutes until the mixture thickens slightly and looks glossy.
    • Add butter and chocolate: Remove from the heat. Stir in the butter, chopped chocolate, vanilla extract, and corn syrup if using. Mix until fully melted and silky smooth.
    • Cool slightly: Let the sauce stand for 5 minutes. It will thicken further as it cools while staying pourable.
    • Serve: Spoon warm hot fudge over ice cream, brownies, waffles, or milkshakes.
    How to Make Dairy Queen Hot Fudge Recipe

    Tips

    How do I keep the sauce smooth?

    Whisk constantly while heating and use gentle heat. High heat can cause graininess or burning.

    Why is my hot fudge too thick?

    Stir in 1 to 2 tablespoons of warm milk until it reaches your preferred consistency.

    How do I make it extra glossy?

    Add a tablespoon of corn syrup or golden syrup while cooking for a shiny finish.

    Can I make it darker in flavour?

    Use dark cocoa powder or bittersweet chocolate for a richer chocolate taste.

    Serving Suggestions

    • Pour over vanilla ice cream for a classic sundae
    • Drizzle on brownies or chocolate cake
    • Serve with waffles or pancakes
    • Blend into milkshakes
    • Dip strawberries or banana slices

    Storage

    Room Temperature

    Do not leave out for more than 2 hours once cooled.

    Refrigerator

    Store in a sealed jar or container for up to 2 weeks. Reheat gently before serving.

    Freezing

    Freeze in airtight containers for up to 3 months. Thaw overnight in the fridge and warm slowly on the hob or in the microwave.

    Nutrition

    • Calories: 185 kcal
    • Carbohydrates: 24g
    • Protein: 2g
    • Fat: 10g
    • Saturated Fat: 6g
    • Sodium: 55mg

    Nutrition values are estimates and may vary depending on ingredients used.

    FAQs

    Can I use regular milk instead of evaporated milk?

    Yes, but evaporated milk gives the sauce a richer flavour and thicker texture. Regular milk will make it slightly lighter.

    How do I reheat hot fudge sauce?

    Warm gently in the microwave in short bursts or heat in a saucepan over low heat, stirring often.

    Can I make this ahead of time?

    Yes, prepare it in advance and store in the fridge for up to 2 weeks. Reheat before serving.

    What makes Dairy Queen style hot fudge different?

    It is thicker, richer, and more intensely chocolatey than standard chocolate syrup, with a smooth spoonable texture.

    Dairy Queen Hot Fudge Recipe

    Recipe by Milli RoseCourse: DessertCuisine: AmericanDifficulty: Easy
    Servings

    4

    servings
    Prep time

    30

    minutes
    Cooking time

    40

    minutes
    Calories

    300

    kcal
    Total time

    1

    hour 

    10

    minutes

    Rich, smooth Dairy Queen style hot fudge sauce made with cocoa, chocolate, butter, and milk. Perfect for sundaes, cakes, and frozen desserts.

    Ingredients

    • 200g granulated sugar

    • 45g cocoa powder

    • 240ml evaporated milk

    • 120ml whole milk

    • 115g unsalted butter

    • 170g semi-sweet chocolate, chopped

    • 1 tsp vanilla extract

    • 1 pinch salt

    • 1 tbsp corn syrup

    Directions

    • Place sugar, cocoa powder and salt in a saucepan.
    • Whisk in evaporated milk and whole milk until smooth.
    • Cook over medium-low heat, stirring constantly until slightly thickened.
    • Remove from heat and stir in butter and chopped chocolate.
    • Mix in vanilla extract and corn syrup until glossy.
    • Cool for 5 minutes, then serve warm.

    Notes

    • Use low heat to prevent burning.
    • Thin with warm milk if needed.
    • Store chilled and reheat gently.
  • Pike Place Clam Chowder Recipe

    Pike Place Clam Chowder Recipe

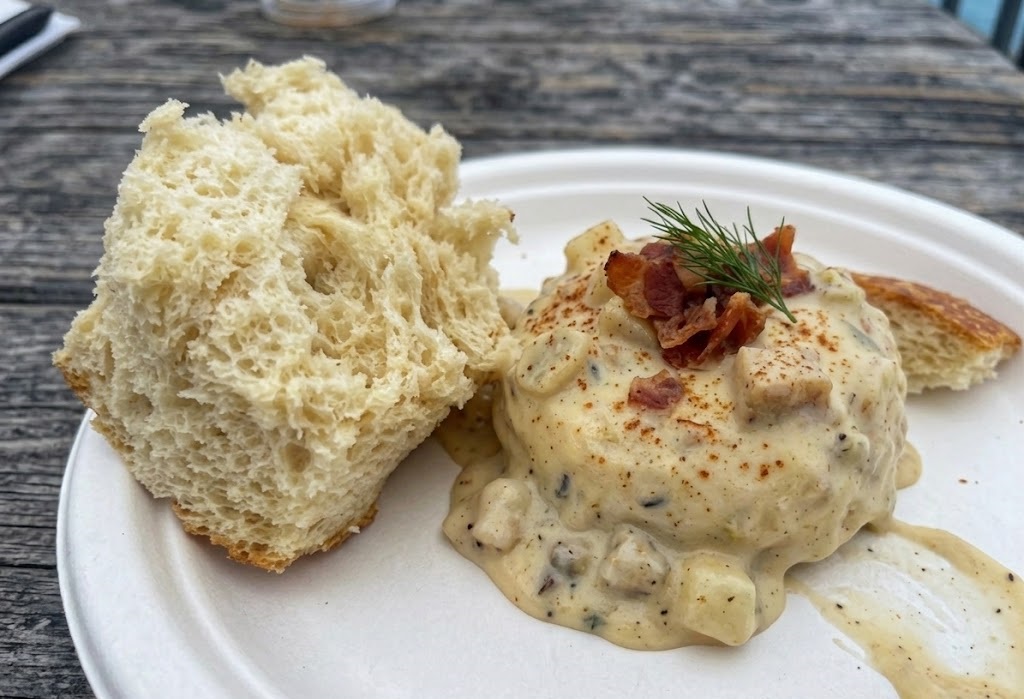
    Pike Place clam chowder is a rich, creamy seafood soup inspired by the famous bowls served in Seattle’s bustling market district. It is packed with tender clams, soft potatoes, sweet onion, and smoky bacon in a velvety broth with a comforting texture. The flavour is savoury, buttery, and gently briny without being overpowering. This is an easy recipe to make at home and takes around 45 minutes from start to finish.

    Ingredients

    For the Chowder Base

    • 4 rashers streaky bacon, chopped
    • 1 tbsp unsalted butter
    • 1 medium onion, finely diced
    • 2 celery sticks, finely diced
    • 2 garlic cloves, minced
    • 3 tbsp plain flour
    • 500ml fish stock or chicken stock
    • 250ml whole milk
    • 250ml double cream

    For the Filling

    • 300g potatoes, peeled and diced small
    • 2 tins chopped clams, drained (reserve juice)
    • 120ml reserved clam juice
    • 1 bay leaf
    • 1 tsp fresh thyme leaves
    • 1/2 tsp black pepper
    • Salt to taste

    For Serving

    • Fresh parsley, chopped
    • Crusty bread or sourdough bowls
    • Extra cracked black pepper

    How to Make Pike Place Clam Chowder Recipe

    • Prepare the base: Place a large heavy saucepan over medium heat. Add the chopped bacon and cook until crisp. Remove half for garnish, leaving the fat in the pan. Stir in the butter.
    • Cook the vegetables: Add the onion and celery. Cook gently for 5 minutes until softened. Stir in the garlic and cook for 30 seconds.
    • Make the roux: Sprinkle in the flour and stir continuously for 1 minute so the flour cooks without colouring.
    • Add the liquids: Gradually pour in the stock, milk, cream, and reserved clam juice while whisking to keep the mixture smooth.
    • Add potatoes: Stir in the diced potatoes, bay leaf, thyme, and black pepper. Bring gently to a simmer.
    • Cook the chowder: Simmer uncovered for 15 to 18 minutes, stirring occasionally, until the potatoes are tender and the broth has thickened.
    • Add the clams: Stir in the chopped clams and cook for 2 to 3 minutes only, just until heated through. Avoid boiling at this stage or the clams may toughen.
    • Finish and serve: Remove the bay leaf. Taste and adjust seasoning. Ladle into warm bowls, top with crisp bacon and parsley, and serve immediately with bread.
    How to Make Pike Place Clam Chowder Recipe

    Tips

    How do I make the chowder thicker?

    Let it simmer a little longer uncovered, or mash a few cooked potato pieces into the broth for natural thickening.

    How do I stop the cream from splitting?

    Keep the heat gentle once dairy is added and never allow the chowder to boil rapidly.

    Can I use fresh clams instead of canned?

    Yes, steamed fresh clams work beautifully. Chop the meat and add the strained cooking liquid for extra flavour.

    Why are my potatoes still firm?

    Dice them small and evenly so they cook in the same time. Larger cubes need longer simmering.

    Serving Suggestions

    • Serve in toasted sourdough bread bowls.
    • Pair with oyster crackers or saltines.
    • Add a crisp green salad on the side.
    • Finish with extra parsley and black pepper.

    Storage

    Room Temperature

    Do not leave chowder out for more than 2 hours. Refrigerate promptly after cooling slightly.

    Refrigerator

    Store in an airtight container for up to 3 days. Reheat gently on the hob, stirring often.

    Freezing

    Freeze for up to 2 months. Cream-based soups can separate slightly, so thaw overnight and reheat slowly while stirring.

    Nutrition

    • Calories: 420 kcal
    • Carbohydrates: 24g
    • Protein: 18g
    • Fat: 28g
    • Saturated Fat: 15g
    • Sodium: 890mg

    Nutrition values are approximate and may vary depending on ingredients used.

    FAQs

    Can I make clam chowder ahead of time?

    Yes, make it a day ahead and chill. Reheat gently before serving for even better flavour.

    What potatoes work best for chowder?

    Waxy potatoes such as Yukon Gold or Charlotte hold their shape well and give a creamy texture.

    Can I use frozen clams?

    Yes, thaw fully first and add near the end of cooking so they stay tender.

    Why does Pike Place chowder taste so good?

    It balances creamy richness, tender seafood, smoky bacon, and sweet vegetables for a full comforting flavour.

    Pike Place Clam Chowder Recipe

    Recipe by Milli RoseCourse: SoupCuisine: AmericanDifficulty: Easy
    Servings

    4

    servings
    Prep time

    30

    minutes
    Cooking time

    40

    minutes
    Calories

    300

    kcal
    Total time

    1

    hour 

    10

    minutes

    Rich and creamy Pike Place clam chowder made with tender clams, potatoes, bacon, onion and cream. A comforting seafood classic inspired by Seattle favourites.

    Ingredients

    • 4 rashers streaky bacon, chopped

    • 1 tbsp butter

    • 1 onion, diced

    • 2 celery sticks, diced

    • 2 garlic cloves, minced

    • 3 tbsp plain flour

    • 500ml stock

    • 250ml whole milk

    • 250ml double cream

    • 300g potatoes, diced

    • 2 tins chopped clams

    • 120ml clam juice

    • 1 bay leaf

    • 1 tsp thyme

    • Parsley for garnish

    Directions

    • Cook bacon until crisp in a large saucepan.
    • Add butter, onion, celery and cook until soft.
    • Stir in garlic and flour, then cook for 1 minute.
    • Gradually add stock, milk, cream and clam juice.
    • Add potatoes, bay leaf and thyme. Simmer until potatoes are tender.
    • Stir in clams and heat gently for 2 to 3 minutes.
    • Season to taste and serve hot with parsley and bacon.

    Notes

    • Do not boil after adding clams.
    • Mash a few potatoes for thicker chowder.
    • Best served fresh and hot.
  • Tgi Fridays Strawberry Henny Recipe

    Tgi Fridays Strawberry Henny Recipe

    The Tgi Fridays Strawberry Henny Recipe is a fruity, chilled cocktail-style drink made with smooth cognac, sweet strawberries, and refreshing mixers for a bold yet easy homemade treat. It has a silky texture with juicy berry flavour, gentle citrus notes, and a warming finish from the Hennessy. This recipe is simple to prepare and ideal for beginners. Total time is around 10 minutes from start to finish.

    Ingredients

    For the Strawberry Puree

    • 150g fresh strawberries, hulled
    • 1 tbsp sugar syrup

    For the Drink

    • 120ml Hennessy cognac
    • 120ml lemonade
    • 60ml cranberry juice
    • 1 tbsp fresh lime juice
    • Ice cubes

    For Garnish

    • Fresh strawberry slices
    • Lime wedges

    How to Make Tgi Fridays Strawberry Henny Recipe

    • Prepare the glasses: Place two serving glasses in the fridge for a few minutes so the drink stays colder for longer.
    • Make the puree: Add the strawberries and sugar syrup to a blender. Blend until smooth and pour into a jug.
    • Fill the shaker: Add a generous handful of ice cubes to a cocktail shaker.
    • Mix the drink: Pour in the Hennessy, strawberry puree, lemonade, cranberry juice, and lime juice.
    • Shake well: Secure the lid and shake firmly for 15 to 20 seconds until nicely chilled.
    • Assemble: Fill the chilled glasses with fresh ice and strain the drink evenly between them.
    • Finish and serve: Garnish with strawberry slices and lime wedges. Serve straight away.
    How to Make Tgi Fridays Strawberry Henny Recipe

    Tips

    How do I make the drink smoother?

    Strain the strawberry puree through a fine sieve before adding it to the shaker.

    How can I make it sweeter?

    Add an extra teaspoon of sugar syrup or use lemon-lime soda instead of lemonade.

    Can I make it stronger?

    Increase the cognac slightly, but keep the fruit juices balanced for the best flavour.

    How do I keep it cold longer?

    Use chilled ingredients and serve in frosted glasses filled with fresh ice.

    Serving Suggestions

    • Serve with burgers, sliders, or grilled chicken.
    • Pair with party platters and sharing snacks.
    • Offer with fresh strawberries on cocktail sticks.
    • Serve at summer gatherings or weekend celebrations.

    Storage

    Room Temperature

    This drink should not be left out for more than 1 hour. Serve chilled for best quality.

    Refrigerator

    Store the mixed drink in a sealed jug for up to 24 hours. Shake or stir well before serving.

    Freezing

    Freeze in ice cube trays, then blend for a frozen slush-style version later.

    Nutrition

    • Calories: 220 kcal
    • Carbohydrates: 18g
    • Protein: 1g
    • Fat: 0g
    • Saturated Fat: 0g
    • Sodium: 12mg

    Nutrition values are approximate and may vary depending on ingredients used.

    FAQs

    Can I use frozen strawberries instead?

    Yes, thaw them first and drain excess liquid before blending for the best flavour and texture.

    What alcohol works best for Strawberry Henny?

    Hennessy cognac is traditional, but any smooth cognac can be used.

    Can I make this drink ahead of time?

    Yes, mix it a few hours ahead and keep chilled in the refrigerator until serving.

    How do I make a non-alcoholic version?

    Replace the cognac with extra lemonade and a splash of apple juice for a fruity mocktail.

    Tgi Fridays Strawberry Henny Recipe

    Recipe by Milli RoseCourse: DrinksCuisine: AmericanDifficulty: Easy
    Servings

    2

    glasses
    Prep time

    10

    minutes
    Cooking timeminutes
    Total time

    10

    minutes
    Calories

    220

    kcal

    A refreshing strawberry Henny drink made with cognac, strawberry puree, lemonade, and fresh fruit. Sweet, smooth, and perfect for entertaining.

    Ingredients

    • 120ml Hennessy cognac

    • 150g fresh strawberries, hulled

    • 120ml lemonade

    • 60ml cranberry juice

    • 1 tbsp sugar syrup

    • 1 tbsp lime juice

    • Ice cubes

    • Fresh strawberry slices, for garnish

    Directions

    • Add strawberries to a blender and blend until smooth.
    • Fill a cocktail shaker with ice cubes.
    • Pour in cognac, strawberry puree, lemonade, cranberry juice, syrup, and lime juice.
    • Shake well for 20 seconds until chilled.
    • Strain into two ice-filled glasses.
    • Garnish with strawberry slices and serve immediately.

    Notes

    • Use ripe strawberries for the best flavour.
    • Chill the glasses before serving for an authentic restaurant feel.
    • Adjust sweetness with extra syrup if preferred.
  • Mission BBQ Alabama White Sauce Recipe

    Mission BBQ Alabama White Sauce Recipe

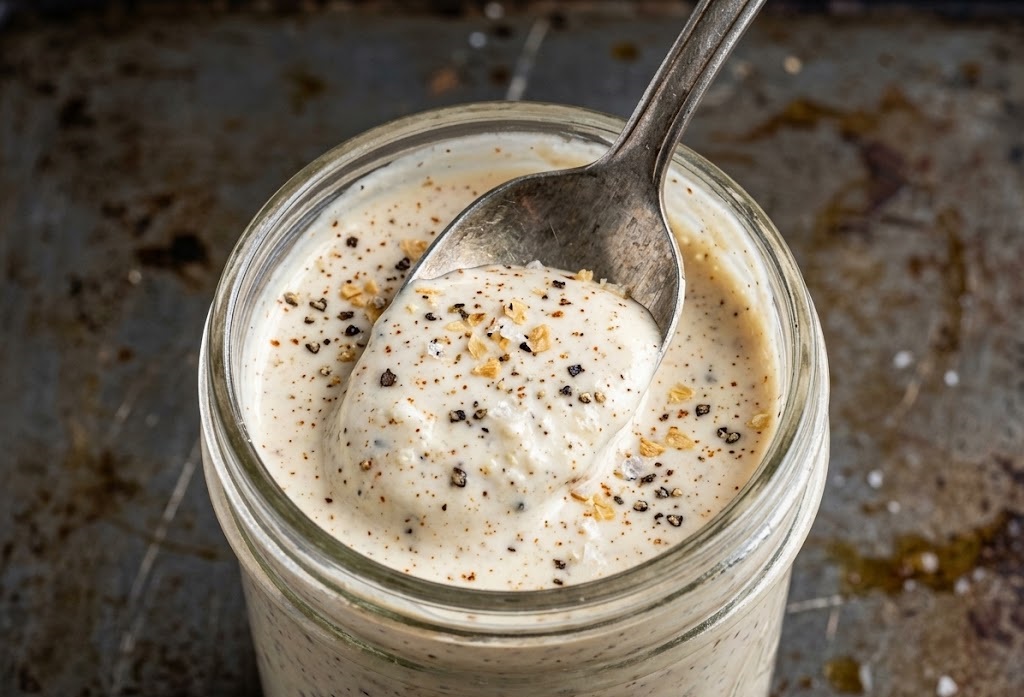
    This Mission BBQ Alabama White Sauce is a creamy, tangy barbecue classic that brings a bold twist to grilled meats. Known for its smooth texture and peppery kick, it pairs beautifully with chicken, turkey, and even fries. It is wonderfully simple to make, requiring just a few pantry staples and minimal effort. From start to finish, you can have it ready in under 10 minutes.

    Ingredients

    For the Alabama White Sauce

    • 240ml mayonnaise
    • 2 tbsp apple cider vinegar
    • 1 tbsp lemon juice
    • 1 tbsp prepared horseradish
    • 1 tsp Dijon mustard
    • 1 tsp garlic powder
    • 1 tsp onion powder
    • ½ tsp smoked paprika
    • ½ tsp freshly ground black pepper
    • ½ tsp salt
    • 1 tsp sugar (optional, to balance acidity)

    How to Make Mission BBQ Alabama White Sauce Recipe

    • Prepare your workspace: Gather all ingredients and a medium mixing bowl. Ensure everything is measured and ready for quick assembly.
    • Combine the base: Add the mayonnaise to the bowl, followed by apple cider vinegar and lemon juice. Whisk gently until smooth and slightly loosened.
    • Add flavourings: Stir in the horseradish, Dijon mustard, garlic powder, onion powder, and smoked paprika. Mix until fully incorporated.
    • Season the sauce: Add black pepper, salt, and sugar if using. Taste and adjust seasoning to your preference.
    • Chill before serving: Cover and refrigerate for at least 30 minutes to allow the flavours to develop and mellow.
    • Serve and enjoy: Stir well before serving and drizzle generously over grilled meats or use as a dipping sauce.
    How to Make Mission BBQ Alabama White Sauce Recipe

    Tips

    How can I make the sauce thinner?

    Add a small splash of water or extra vinegar, a teaspoon at a time, until you reach your desired consistency.

    What if the sauce tastes too sharp?

    Stir in a little more mayonnaise or a pinch of sugar to soften the acidity and balance the flavour.

    Can I make it spicier?

    Increase the horseradish or add a pinch of cayenne pepper for extra heat.

    Why should I chill the sauce?

    Resting the sauce in the fridge allows the flavours to blend and deepen, giving a smoother and more balanced taste.

    Serving Suggestions

    • Drizzle over grilled or smoked chicken
    • Serve alongside roasted turkey slices
    • Use as a dip for chips or wedges
    • Spread in sandwiches or wraps
    • Pair with grilled vegetables

    Storage

    Room Temperature

    Not recommended, as the mayonnaise base can spoil quickly. Keep chilled whenever possible.

    Refrigerator

    Store in an airtight container for up to 5 days. Stir well before each use.

    Freezing

    Freezing is not suitable, as the texture may split and become watery when thawed.

    Nutrition

    • Calories: 120 kcal
    • Carbohydrates: 2g
    • Protein: 0.5g
    • Fat: 12g
    • Saturated Fat: 2g
    • Sodium: 180mg

    These values are approximate and may vary depending on exact ingredients used.

    FAQs

    What is Alabama white sauce made of?

    It is made from mayonnaise, vinegar, horseradish, mustard, and a blend of spices, creating a creamy yet tangy barbecue sauce.

    What does Alabama white sauce taste like?

    It has a rich, creamy texture with a tangy, slightly sharp flavour and a gentle heat from horseradish and pepper.

    Can I use it with meats other than chicken?

    Yes, it pairs well with turkey, pork, grilled vegetables, and even as a dipping sauce for fries.

    How long does homemade white BBQ sauce last?

    When stored properly in the fridge, it will keep fresh for up to 5 days.

    Mission BBQ Alabama White Sauce Recipe

    Recipe by Milli RoseCourse: SauceCuisine: AmericanDifficulty: Easy
    Servings

    8

    servings
    Prep time

    10

    minutes
    Cooking timeminutes
    Total time

    40

    minutes
    Calories

    120

    kcal

    A creamy, tangy Alabama white barbecue sauce inspired by Mission BBQ, perfect for grilled chicken and more.

    Ingredients

    • 240ml mayonnaise

    • 2 tbsp apple cider vinegar

    • 1 tbsp lemon juice

    • 1 tbsp prepared horseradish

    • 1 tsp Dijon mustard

    • 1 tsp garlic powder

    • 1 tsp onion powder

    • ½ tsp smoked paprika

    • ½ tsp black pepper

    • ½ tsp salt

    • 1 tsp sugar (optional)

    Directions

    • Combine mayonnaise, vinegar, and lemon juice in a bowl.
    • Add horseradish, mustard, and spices.
    • Whisk until smooth and well combined.
    • Season to taste and adjust consistency if needed.
    • Chill for at least 30 minutes before serving.

    Notes

    • Chill before serving for best flavour.
    • Adjust thickness with a little water or vinegar.
    • Best enjoyed fresh within 5 days.
  • Texas Roadhouse Peppercorn Sauce Recipe

    Texas Roadhouse Peppercorn Sauce Recipe

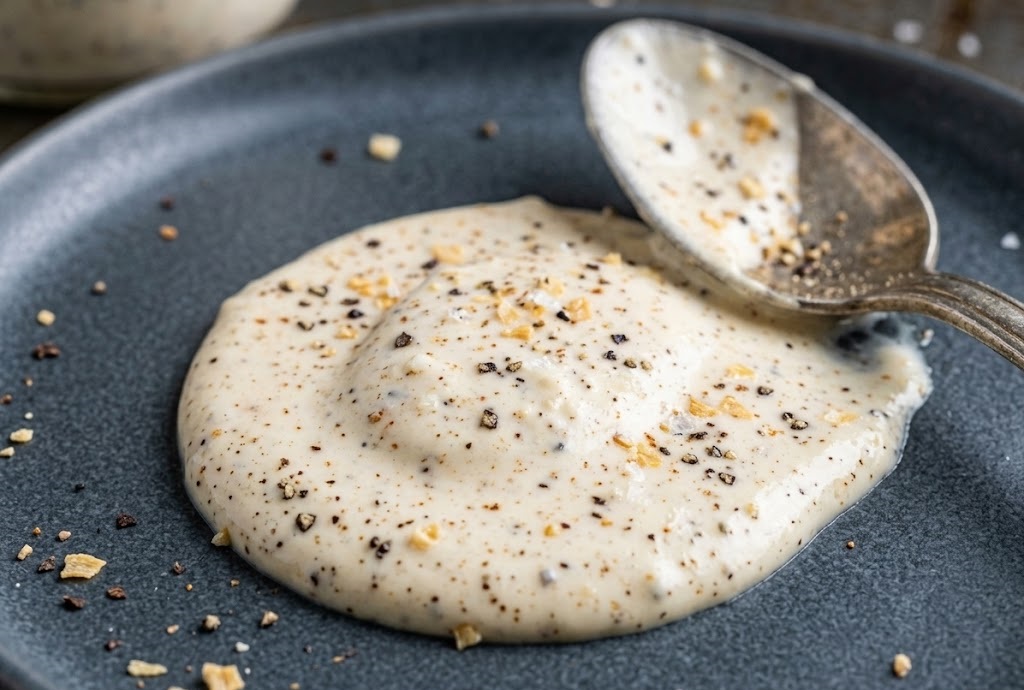
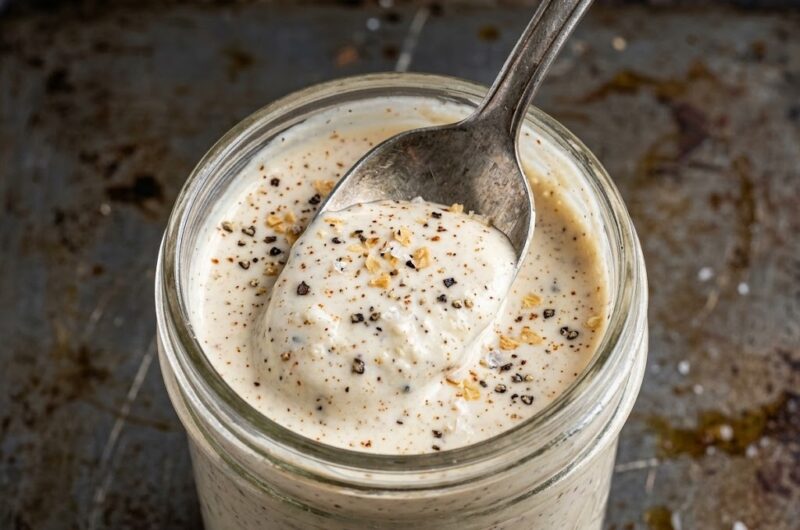
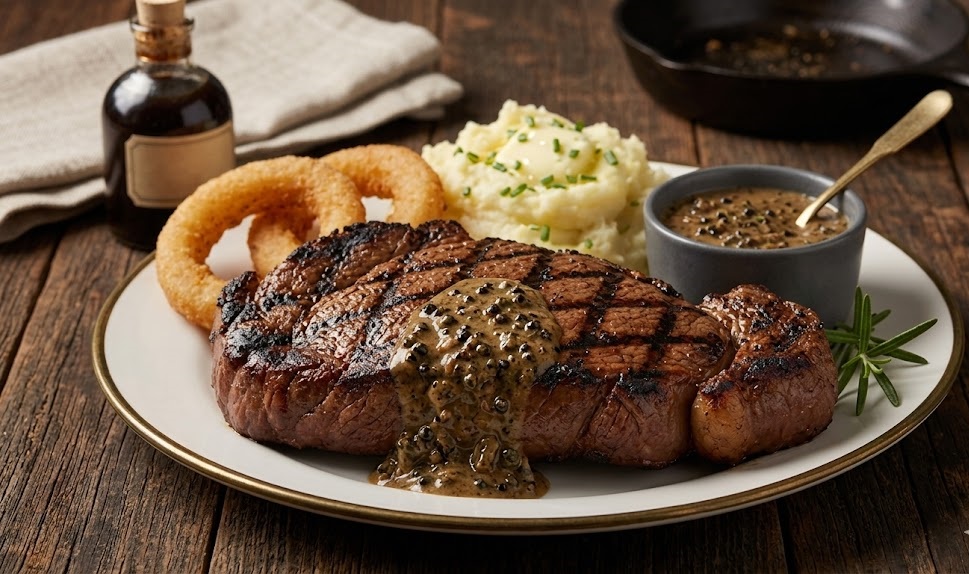
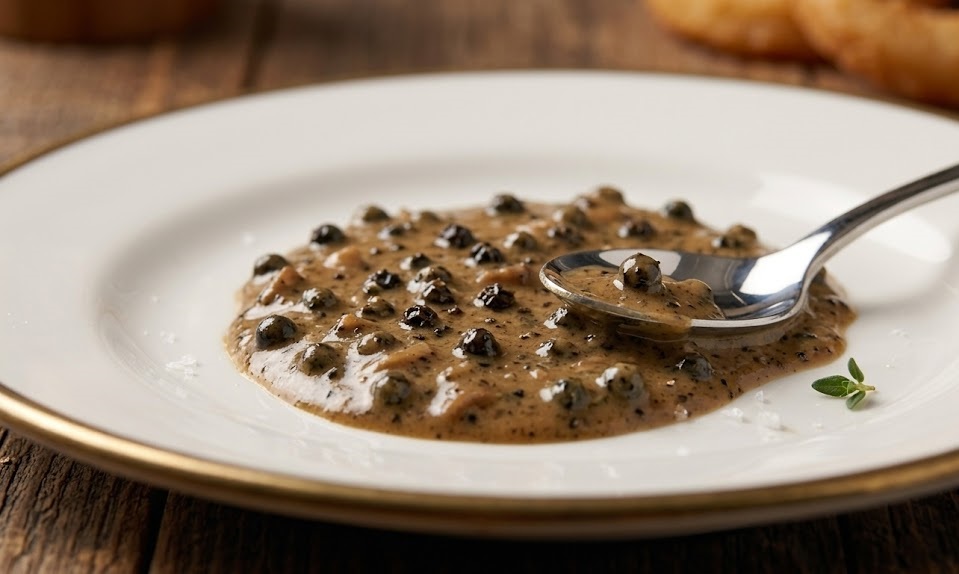
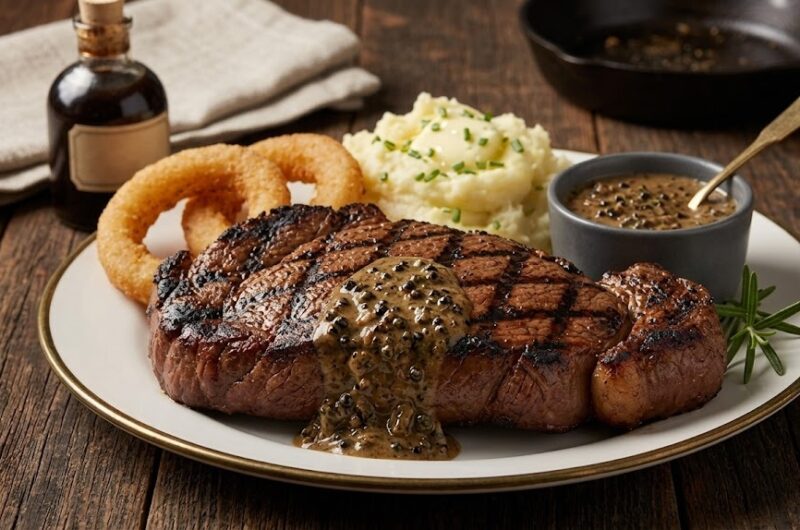
    This Texas Roadhouse Peppercorn Sauce is rich, creamy, and full of bold, peppery flavour that pairs beautifully with steak, chicken, or even roasted vegetables. The sauce has a smooth, velvety texture with just the right balance of heat and savoury depth. It’s surprisingly simple to make at home, using everyday ingredients and taking under 20 minutes from start to finish. Perfect for beginners, yet impressive enough for a restaurant-style meal.

    Ingredients

    For the Peppercorn Sauce

    • 1 tbsp unsalted butter
    • 1 tbsp olive oil
    • 2 cloves garlic, finely minced
    • 1 tbsp whole black peppercorns, lightly crushed
    • 1 cup (240ml) double cream
    • ½ cup (120ml) beef stock
    • 1 tsp Worcestershire sauce
    • ½ tsp Dijon mustard
    • Salt, to taste

    How to Make Texas Roadhouse Peppercorn Sauce Recipe

    • Prepare the pan: Place a medium saucepan over medium heat. Add the butter and olive oil, allowing them to melt together gently without browning.
    • Cook the garlic: Add the minced garlic and sauté for about 1 minute until fragrant, being careful not to let it burn.
    • Add peppercorns: Stir in the crushed black peppercorns and cook for another 30 seconds to release their aroma.
    • Pour in liquids: Add the beef stock and bring to a gentle simmer, allowing it to reduce slightly for 2 to 3 minutes.
    • Stir in cream: Lower the heat and add the double cream, stirring continuously to create a smooth, creamy base.
    • Add flavourings: Mix in the Worcestershire sauce and Dijon mustard, stirring well to combine all the flavours.
    • Simmer the sauce: Let the sauce simmer gently for 5 to 7 minutes until it thickens to your desired consistency.
    • Season and finish: Taste and adjust with salt if needed. Remove from heat and serve warm over your favourite dishes.
    How to Make Texas Roadhouse Peppercorn Sauce Recipe

    Tips

    How do I get the perfect consistency?

    Let the sauce simmer gently and avoid boiling too rapidly. A slow simmer allows it to thicken naturally without splitting.

    Can I make it less spicy?

    Reduce the amount of crushed peppercorns slightly or use coarsely ground pepper instead for a milder flavour.

    What if my sauce is too thick?

    Add a splash of warm beef stock or cream and stir until the desired consistency is reached.

    Can I make this ahead of time?

    Yes, prepare the sauce and store it in the fridge. Reheat gently over low heat, stirring well before serving.

    Serving Suggestions

    • Drizzle over grilled steak or roast beef
    • Serve with pan-fried chicken breast
    • Pair with mashed potatoes for extra richness
    • Use as a dipping sauce for roasted vegetables

    Storage

    Room Temperature

    Keep the sauce at room temperature for up to 2 hours before refrigerating.

    Refrigerator

    Store in an airtight container for up to 3 days. Reheat gently on the stove, stirring often.

    Freezing

    Freezing is not recommended as the cream may separate and affect the texture when thawed.

    Nutrition

    • Calories: 220 kcal
    • Carbohydrates: 4g
    • Protein: 2g
    • Fat: 22g
    • Saturated Fat: 12g
    • Sodium: 320mg

    These values are approximate and may vary depending on ingredients used.

    FAQs

    Can I use milk instead of cream?

    Milk can be used, but the sauce will be thinner and less rich. For best results, use double cream.

    What can I use instead of beef stock?

    Chicken or vegetable stock can be substituted, though the flavour will be slightly different.

    How do I crush peppercorns?

    Use a mortar and pestle or place them in a sealed bag and crush with a rolling pin.

    Can I make this sauce without mustard?

    Yes, you can omit Dijon mustard, though it adds a subtle tang that enhances the overall flavour.

    Texas Roadhouse Peppercorn Sauce Recipe

    Recipe by Milli RoseCourse: SauceCuisine: AmericanDifficulty: Easy
    Servings

    4

    servings
    Prep time

    30

    minutes
    Cooking time

    40

    minutes
    Calories

    300

    kcal
    Total time

    1

    hour 

    10

    minutes

    A rich and creamy peppercorn sauce with bold flavour, perfect for steak, chicken, or vegetables. Quick to prepare and full of restaurant-style taste.

    Ingredients

    • 1 tbsp unsalted butter

    • 1 tbsp olive oil

    • 2 cloves garlic, minced

    • 1 tbsp black peppercorns, crushed

    • 1 cup double cream

    • 1/2 cup beef stock

    • 1 tsp Worcestershire sauce

    • 1/2 tsp Dijon mustard

    • Salt to taste

    Directions

    • Melt butter and oil in a saucepan over medium heat.
    • Add garlic and cook until fragrant.
    • Stir in crushed peppercorns.
    • Pour in beef stock and simmer briefly.
    • Add cream and stir until smooth.
    • Mix in Worcestershire sauce and mustard.
    • Simmer until thickened.
    • Season and serve warm.

    Notes

    • Simmer gently to prevent splitting.
    • Adjust pepper for desired heat level.
    • Best served fresh for optimal texture.

slot depo

sicbo online